Wondering which photography techniques deserve your time first? Start with exposure, then composition, then light. Master those and every other style becomes easier to learn.
| Item | Value |
|---|---|
| Ideal ISO for daylight under bright skies | ISO 100 |
| Wide apertures (shallow depth of field) | f/2.8 to f/5.6 |
| Narrow apertures (deep depth of field) | f/14 to f/22 |
| Fog-flow example: shutter speed | 30 seconds at f/20, ISO 100 |
| Frozen-wave example: shutter speed | 1/1000 s at f/8, ISO 100 |
These figures come from Adobe’s guide to the exposure triangle. They are worked examples rather than fixed rules and can change with the scene, so check the source before you rely on them.
Exposure first: the settings behind every image
Every technique in this guide rests on exposure, which ExpertPhotography describes as the amount of light that reaches your camera’s sensor. That amount decides whether a picture looks bright, dark or balanced. Learning to control it lets you make deliberate artistic choices instead of accepting whatever the camera decides.
Adobe explains that the exposure triangle is composed of three parameters: shutter speed, aperture and ISO, as set out in its exposure triangle guide. Each one changes how much light the sensor collects, and each one also changes the look of the picture in its own way. Shutter speed shapes motion, aperture shapes focus, and ISO shapes grain.
A simple analogy helps. Picture a bucket under a tap: the bucket is the sensor, the water is light, the time the tap stays open is the shutter, and the width of the pipe is the aperture. Raising the pressure is like raising the ISO, since the sensor becomes more sensitive and gathers more with the same time and opening.
Read the histogram before you trust the screen
A histogram is a graph of the distribution of light in an image, and Adobe calls it an important guide for proper exposure. The darkest tones sit on the left and the brightest on the right. A glance tells you more than a bright or dim preview screen ever can.
Three situations are worth recognising:
- Shadow clipping: the graph is pushed left and cut off, so dark areas turn to pure black with no detail.
- Highlight clipping: the graph runs off the right edge, so bright areas are blown out.
- Balanced exposure: the tones sit inside the frame on both sides, so detail survives in the shadows and the highlights.
Making a habit of checking the histogram before each frame costs seconds and saves shots that cannot be repaired later. Software can recover some shadow detail, and Adobe notes that highlight recovery means pushing the highlights and whites sliders to the left. Even so, it is far better to capture the information in the first place.
Aperture, shutter speed and ISO in practice
Knowing the triangle in theory is one thing. Using it when the light changes and the subject will not wait is another. This section walks through each setting and the trade-off it brings.
Aperture and depth of field
Aperture is the adjustable opening in the lens, and it is written as an f-stop. The numbers feel backwards at first: Adobe points out that an f2.8 actually allows more light than f22. A small number means a wide opening, and a large number means a narrow one.
Aperture also controls depth of field, the part of the image that is in focus. According to Adobe, a wider aperture of f/2.8 to f/5.6 gives a shallow depth of field with a blurred background, while a narrow aperture of f/14 to f/22 keeps most of the frame sharp. Use the wide end for a single flower or a portrait, and the narrow end for a landscape with a close foreground and a distant horizon.
Shutter speed: freeze it or let it blur
Shutter speed is how long light is allowed to hit the sensor. ExpertPhotography notes that fast speeds such as 1/8000 s are fractions of a second, and that the slowest setting on most cameras is 30 seconds. Bright daylight needs only a brief opening, while dim scenes need the shutter open longer.
Adobe gives two clear examples in the same guide. Fog flowing between mountains was shown with a shutter speed of 30 seconds, which needed the aperture narrowed to f/20 and ISO kept at 100. A backlit wave with its texture preserved was frozen at 1/1000 s with ISO 100 and an aperture of f/8.
The slow end of this range is the territory of long exposure photography, where moving water, clouds and fog turn soft and smooth. The fast end is for sport, wildlife and anything that must look sharp mid-motion. Pick the speed first, then let the other two settings follow.
ISO and the cost of noise
ISO is the sensor’s sensitivity to light. Adobe says an ISO of 100 is ideal for daylight under bright skies, while a higher range of 1,000 to 5,000 may be used at night, as its exposure triangle guide explains. The price of higher sensitivity is noise, which looks like grain.
Shotkit suggests keeping ISO at 50, 100 or 200 when there is enough light, depending on your camera, as its photography techniques guide advises. ExpertPhotography adds that on most modern digital cameras the noise threshold sits between 3,200 and 6,000, and it suggests reserving those values for night work. The practical answer is to run a few test shots and learn where your own camera starts to look rough.
Raising ISO is not always a mistake. In its February 2024 article, Adorama argues that a higher ISO can buy a faster shutter speed for a moving subject, or allow a narrower aperture for more depth of field. Some photographers also like the look of grain and add it in-camera on purpose.
When you change one setting, plan to compensate with another. Here is how the usual priorities line up:
- Motion blur wanted: lower the ISO, narrow the aperture and lengthen the shutter speed.
- Frozen action wanted: shorten the shutter speed and open the aperture or raise the ISO to make up the light.
- Blurred background wanted: open the aperture and shorten the shutter speed to avoid overexposure.
- Everything sharp wanted: narrow the aperture and use a tripod if the shutter speed becomes slow.
Shotkit also says that jumping from Auto to Manual can be very difficult, so semi-automatic modes ease the move. Aperture priority lets you practise depth of field, and shutter priority lets you practise motion, without juggling every setting at once, as Shotkit’s guide recommends.
Composition techniques that make an image read clearly
Exposure makes a picture visible. Composition makes it worth looking at. Shotkit points out in its guide that you can improve composition with any camera, including a phone, because it is simply the way you place objects inside the frame.
The rule of thirds and when to bend it
The best known guideline is the rule of thirds. Shotkit describes it as dividing the frame into nine equal sections with two vertical lines and two horizontal ones, then placing important subjects where the lines meet. Our page on rule of thirds photography goes deeper into how to apply it.
Adorama notes that most cameras even offer a rule of thirds grid, and it calls the rule a good entry-level aid against boring snapshot compositions. It also says that not every scene suits the grid, and that images with symmetry can be very appealing, so you would avoid the rule there. Shotkit adds that composition rules sometimes contradict each other, which is why it is more accurate to call them guidelines. Both points appear in Adorama’s article and Shotkit’s guide.
Change your angle
Shotkit calls shooting everything at eye level one of the biggest beginner mistakes, because it shows the world the way everyone already sees it. Moving your body is the cheapest creative tool you own. These are the angles it describes:
- Low level: crouch and tilt the camera up; going all the way to the floor is known as worm’s eye view.
- High level: shoot down on the subject, which Shotkit says is often used for children or pets.
- Flat-lay: the camera sits parallel to the composition, a common choice for food and still life.
- Dutch angle: tilt the camera sideways so the horizon runs diagonally.
Try each one on the same subject and compare the results on a screen. You will often find that the third or fourth angle is the one that feels fresh.
Less is more
Shotkit says that when an image is too busy, you will not be able to communicate the message. In street work, that means picking one interesting subject instead of aiming at a random crowd. In portraits, it means a neutral background, or a blurred one using a wide aperture.
This habit is the heart of minimalist photography, but it helps every kind of picture. Before you press the shutter, ask what can be removed from the frame. Often a step to the left or a lower angle clears the clutter.
Light: the technique that changes everything
The word photography means drawing with light, as Adobe puts it, and light shapes mood more than any setting. Learning to see it is the technique that takes longest and pays back most. Our guide to natural light photography covers the daylight side in more detail.
Golden hour and the harshness of midday
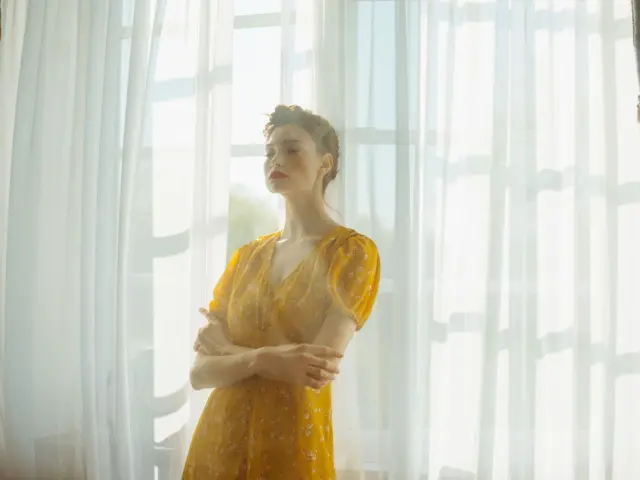
Adorama says that the natural light during the hour before sunset and the hour after sunrise is fantastic for photography, because it offers soft light and far less extreme contrast between shadows and highlights. Middle-of-the-day sun, by contrast, can cast harsh highlights and shadows on the landscape and your subject. You can read more in these golden hour photography tips.
The same Adorama article warns against treating this as an absolute rule. If you know where and when to look, you can still find good pictures outside golden hour. Hard midday light suits graphic shapes and strong shadows, so treat it as a different tool rather than a bad one.
Exposing to the right, and breaking the rule
Adorama describes exposing to the right as making the image as bright as possible without letting values touch the far right of the histogram. The benefit is that it gives you the most detail in the shadows without clipping the highlights. Detail in blown highlights cannot be brought back in editing.
There are good reasons to break it, though. Adorama says that when you shoot directly into the sun, a blown-out area around the sun looks far better than making the whole scene dark to expose the sun properly. Letting a portrait background blow out can also keep the viewer’s eye on the subject, as that Adorama piece explains.
Working with shadow
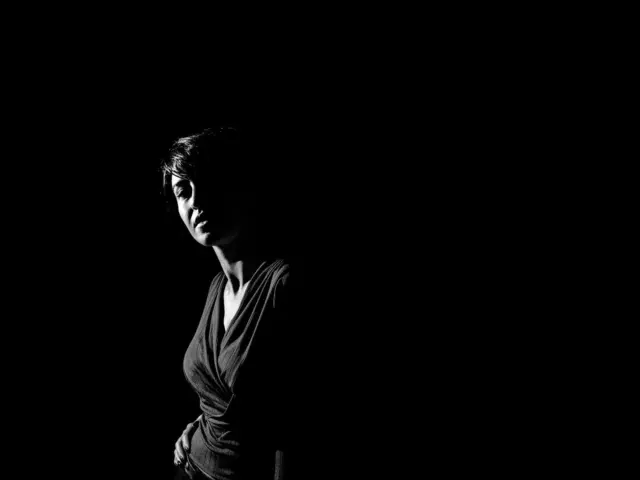
Light is not only about brightness. Darkness is part of the picture too, and a deliberately dark frame with a single lit subject carries drama that a flat, evenly lit one cannot. Shotkit lists high key and low key among specific lighting techniques worth learning in its guide.
If moody, shadow-heavy frames appeal to you, low key photography is the place to start. The histogram matters here: a low key image will sit heavily to the left on purpose, so you are judging whether the dark tones still hold detail where you want it.
Tools, formats and process
Gear does not make a photographer, but a few well-chosen accessories and habits remove the obstacles to good technique. Shotkit argues that buying newer, more expensive equipment will not make you better, while accessories are more likely to help a beginner. Here is what the sources point to.
Tripods, filters and night work
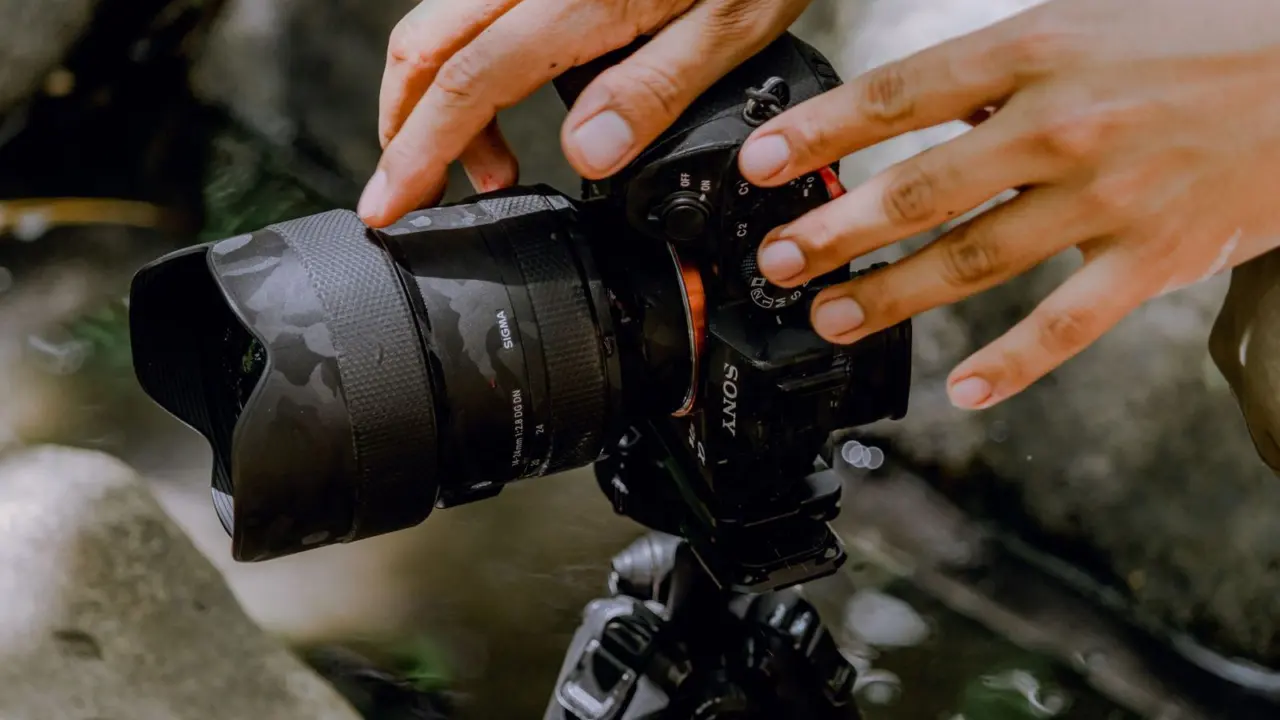
A tripod is the first accessory to consider. ExpertPhotography recommends putting the camera on a tripod when using bulb mode or other slow shutter speeds, ideally with a remote, since touching the camera during the exposure can cause shake. Bulb mode keeps the shutter open for as long as your finger is on the button, which matters because the slowest regular speed on most cameras is 30 seconds.
For stars, the same source says that 10 to 30 seconds may be necessary, and it points to the 500 photography rule as a rough estimate of an exposure time that limits star trailing. Test frames will confirm what works for your lens.
Filters still matter in the age of editing software. Shotkit says a neutral density filter is key for long exposure photography during the day, as noted in its photography techniques guide. A flash unit is another accessory it suggests, since it lets you work in darker situations or fill shadows.
File formats and editing
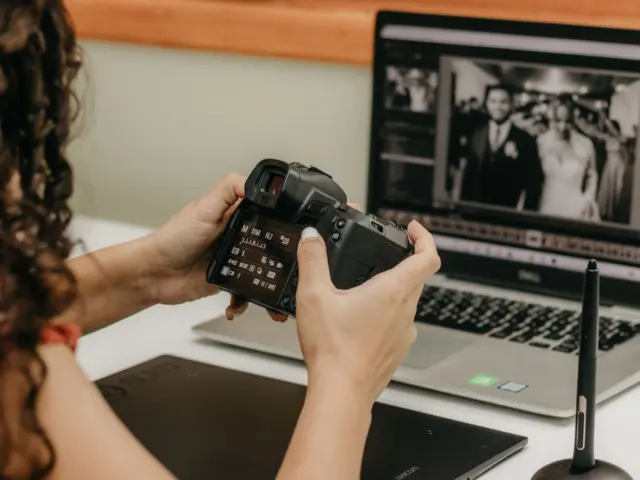
Editing is part of the craft rather than a repair job. Adobe shows how shadow and highlight sliders in Lightroom can rescue detail from a deliberately underexposed image, and Shotkit lists learning post-processing among its essential techniques. The file format you shoot in affects how far you can push an edit, and the comparison of raw vs jpeg explains the trade-offs.
Slowing down with film
Digital shooting makes it easy to keep firing frames without thinking about each one. A more limited, deliberate process can sharpen your eye for exposure and composition, and film photography for beginners is a gentle way into that way of working. The principles of aperture, shutter speed and ISO stay exactly the same.
Taking techniques on the road
Travel gives you new light, new subjects and a reason to apply everything above. If your plans include south-west France, the bordeaux travel guide is a useful companion for thinking about where to go. Whatever the destination, carry a tripod-friendly kit and give yourself time at the best hours of light.
A simple practice plan for these photography techniques
Reading about technique helps, but repetition builds it. Pick one idea per session and shoot until it feels automatic. Shotkit’s advice is to practise and experiment, and a short, structured routine makes that easier.
- Leave Auto mode: use aperture priority for a week and watch how the background changes with each f-stop.
- Switch to shutter priority: photograph moving water or traffic at fast and slow speeds and compare the results.
- Check the histogram: look at it after every frame and note where clipping starts in your usual scenes.
- Test your ISO: shoot the same scene at rising values to find the point where noise becomes distracting on your camera.
- Compose with intent: take the same subject from a low angle, a high angle and eye level, then pick the strongest.
- Chase the light: repeat one location in soft early light and harsh midday light and compare the mood.
Keep your best frames and your failures together. Reviewing both is how patterns emerge, such as always underexposing backlit scenes or always centring the subject. Over time these habits shape a recognisable style, which is what separates snapshots from the considered work found in fine art photography.
Remember that guidelines serve the picture and not the other way round. Learn the rule, use it for a while, then break it on purpose when the scene calls for it. That is how technique turns into personal vision.
Frequently asked questions
Which photography techniques should a beginner learn first?
Show answer
Start with exposure, meaning aperture, shutter speed and ISO, because every other technique depends on it. Then move to composition and light. Adobe describes these three settings as the parameters of the exposure triangle.
What ISO should I use in daylight?
Show answer
Adobe says an ISO of 100 is ideal for daylight under bright skies, and ExpertPhotography suggests sticking to 100 or 200 for daylight exposure. Check the figures at Adobe and ExpertPhotography before you rely on them, and test your own camera.
Do I have to follow the rule of thirds?
Show answer
No. Shotkit calls composition rules guidelines, and Adorama says images with symmetry can look very appealing without the grid. Use the rule when your scene has supporting elements, and drop it when it does not help. See Adorama’s article for its reasoning.
Is golden hour the only good time to shoot?
Show answer
No. Adorama’s February 14, 2024 article praises the hour before sunset and the hour after sunrise for its soft light, yet it also says you can find good pictures at other times if you know where and when to look. Midday light is harsher, so it calls for different subjects and choices. Details are in the original piece.
How can I get a blurred background?
Show answer
Use a wide aperture. Adobe links f/2.8 to f/5.6 with a shallow depth of field and a blurred background, and Shotkit adds that you can also blur it afterwards in Lightroom. Read the Adobe guide for the reasoning behind the settings.