Struggling to get that soft, warm glow in your pictures? These golden hour photography tips come down to one idea: shoot in the first hour after sunrise or the last hour before sunset, and plan ahead.
This guide sits within the wider topic of photography techniques, and it focuses on one light source: the low sun.
| Item | Value |
|---|---|
| Golden hour window | Roughly the first hour after sunrise and the last hour before sunset |
| Blue hour window | The hour before sunrise and the hour after sunset |
| Suggested arrival time | At least an hour before sunset, weather permitting |
| Warm colour range | Between 1000 and 4000 on the Kelvin scale |
| Example portrait aperture | Around f/1.8 to f/2.8 |
These figures come from Expert Photography’s golden hour guide and Digital Photography School’s golden hour guide. They can change with your location, the season and your subject, so check the source before you rely on them.
What is golden hour and when does it happen?
The golden hour is the stretch of light just after sunrise and just before sunset. Photographers also call it the magic hour, because the light looks so flattering.
Its length is not fixed. Near the equator it changes little between winter and summer, while closer to the poles the timing shifts a great deal and the golden hours often last far longer, according to Digital Photography School.
You can calculate exact times with astronomical charts, but it is often just as useful to watch the sky for a few days. Note when the evening light turns warm and soft, and when the morning light turns hard.
The blue hour is the mirror image: the hour before sunrise and the hour after sunset, when the sun sits just below the horizon. The sky turns cool blues and purples, but the weak light means you need careful ISO choices or a tripod.
Why the light looks so good
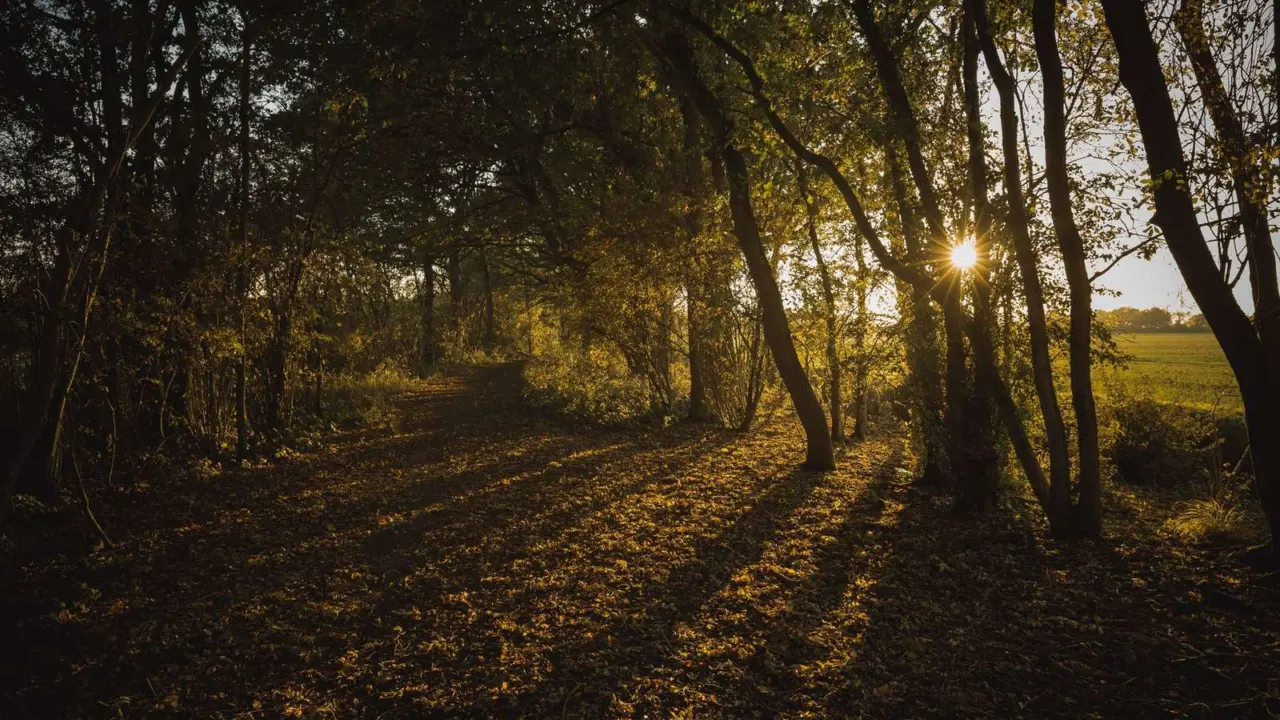
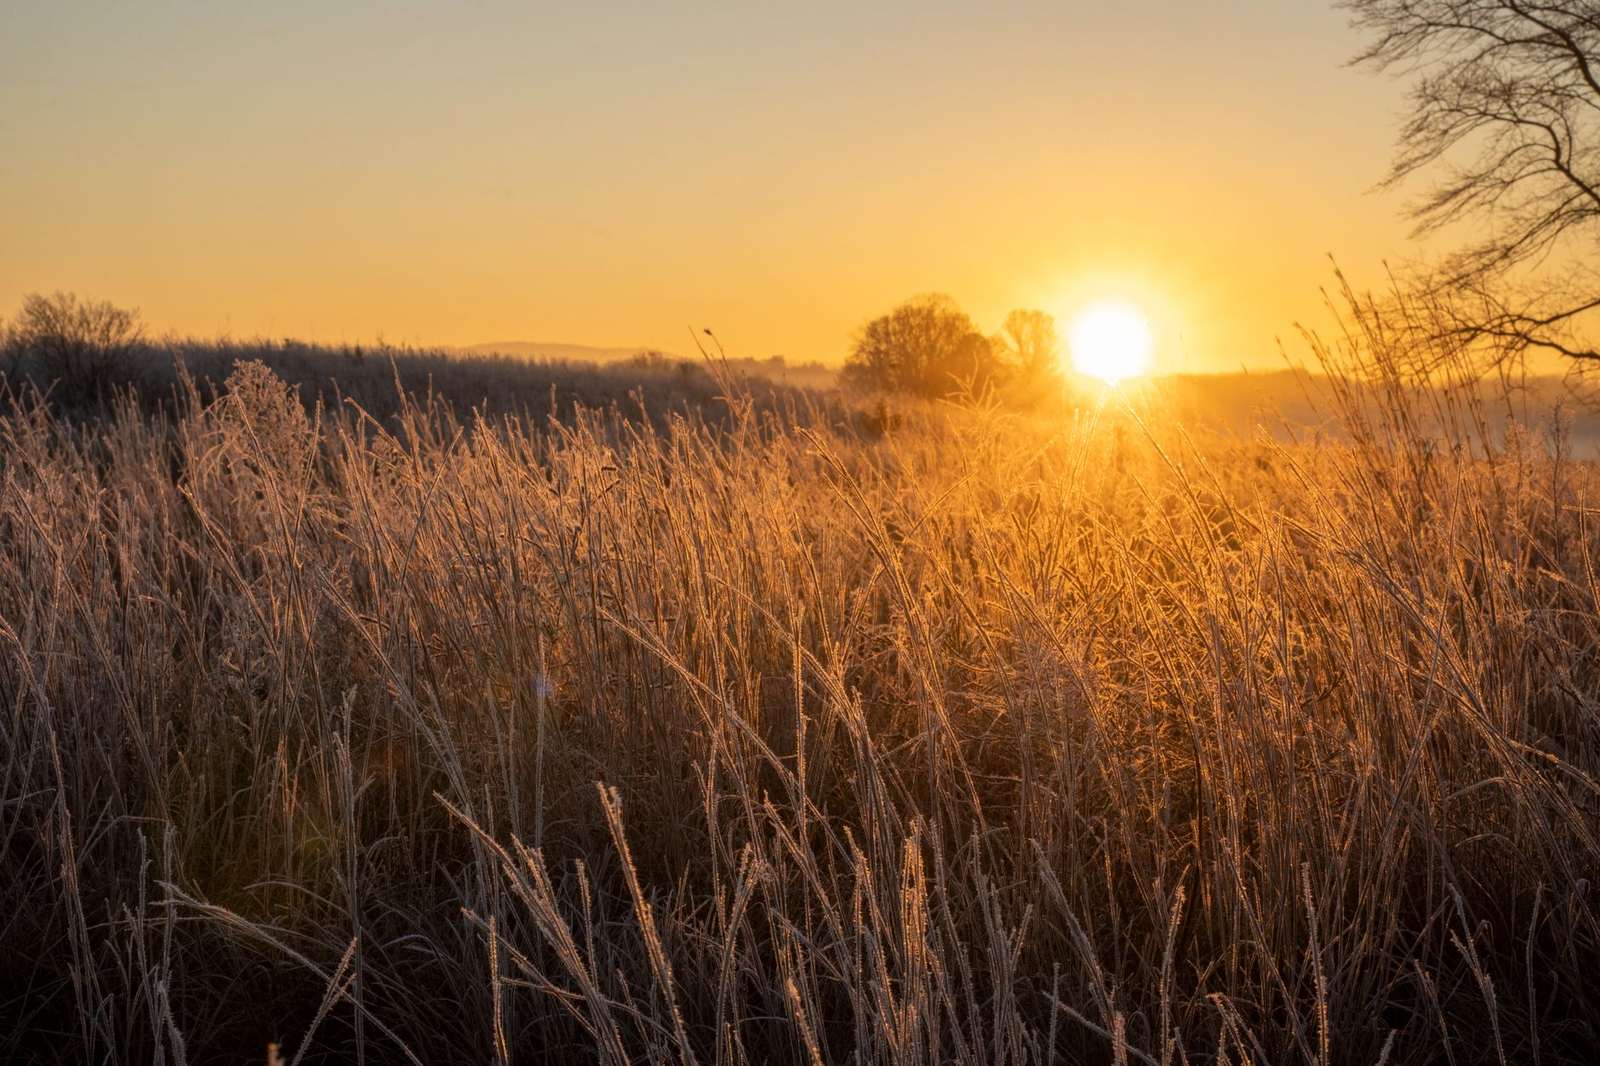
When the sun is low, its light has to travel a greater distance through the atmosphere. That makes it softer, more flattering and redder than the hard light that beams down from overhead at midday.
Three qualities explain most of the magic:
- Soft: fewer harsh shadows, and a narrower gap between the darkest and brightest parts of the scene.
- Warm: a palette of yellows, oranges and reds, which sit between 1000 and 4000 on the Kelvin colour-temperature scale, as Expert Photography notes.
- Directional: the low sun makes it easy to light a subject from the front, the side or behind.
Long shadows help too, because they add texture, depth and interest to a scene. That is the opposite of the flat, harsh look you get under an overhead sun.
Golden hour is not best for everything. Street photographers generally prefer midday, when hard light produces crunchy contrast, and many macro photographers prefer an overcast sky.
The guide to natural light photography is a useful next read for working with daylight at other times of day.
Choose your light direction
The same low sun looks very different depending on where you stand. Walk around your subject before you press the shutter, and try each of these approaches:
- Front light: let the sun fall over your shoulder onto the subject. It is warm and flattering for people, wildlife and birds.
- Side light: for portraits, arrange the shot so the sun is to the side. Front light from the sun tends to make portrait subjects squint.
- Backlight: a soft, hazy glow, but it is easy to underexpose, so meter off your subject, not the background.
- Rim light: a halo of light around the subject, strongest when the background is relatively dark and the sun comes from roughly behind.
- Sun flare: angle the camera so the subject partly covers the sun, then move a little until flare appears around it.
- Silhouette: get down low and photograph your subject directly against the light.
If flare is unwanted, adjust your position, use a lens hood or find a way to include it artistically in the frame.
Once the light is working, the principles of rule of thirds photography can help you place the subject off-centre so the glow has room to breathe.
Camera settings that keep up as the light fades
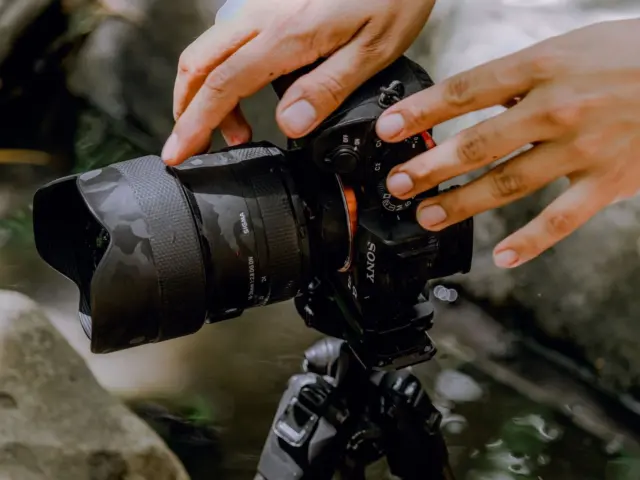
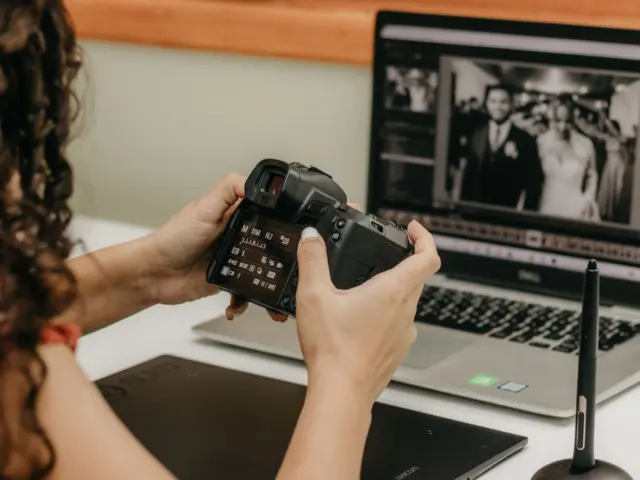
Light changes quickly at this time of day, so know your manual controls before you arrive. Digital cameras can get confused when pointed at direct sun in auto mode, which is why manual or semi-manual control helps.
- Use manual mode, or aperture priority with spot metering, which tells the camera to expose for the focal point rather than the entire scene.
- For portraits, try a low aperture, around f/1.8 to f/2.8. For a couple or a group, use a narrower aperture to keep every face in focus.
- For landscapes on a tripod, keep the ISO low and lengthen the shutter speed as the sunlight wanes.
- As the sun sinks, raise the ISO, widen the aperture or lower the shutter speed to compensate.
The aperture figures above come from Expert Photography, and they are starting points rather than rules.
A wide aperture also gives pleasing points-of-light bokeh, while architecture and landscapes may need a narrower one to keep the whole scene sharp. To tame a backlit subject, bounce some light back with a reflector for a more even exposure.
Plan your timing, weather and location
Golden hour is short, so planning matters as much as technique. Work through this routine:
- Look up your local sunrise and sunset times, or use a golden hour calculator app such as The Photographer’s Ephemeris.
- Arrive at least an hour before sunset and scout your spot while the light is still plain.
- Set up your tripod and framing early, so you can shoot quickly when the light turns.
- Keep shooting. The landscape you photographed on arrival will probably look significantly different 10 minutes later, according to Light Stalking.
- Stay after sunset, because you might start shooting in the blue hour.
Cloud changes the plan. A heavily cloudy day can block the golden sunlight, and on overcast days it is wise to give yourself even more time.
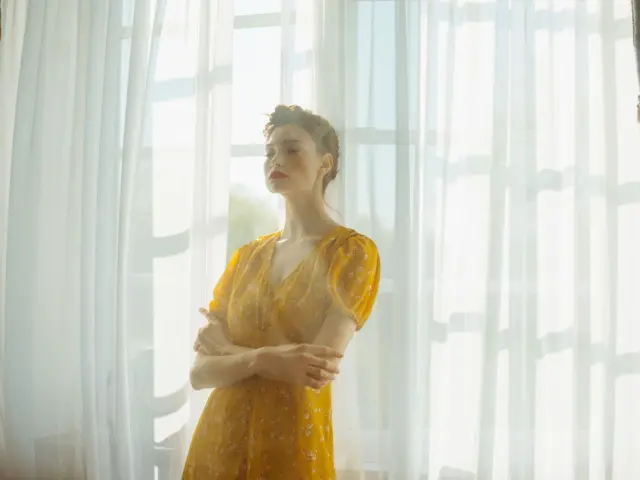
You do not always need to be outdoors, either. A large window can let in some of that golden light for indoor pictures.
Frequently asked questions
How long does golden hour last?
Show answer
It is roughly the first hour after sunrise and the last hour before sunset. The exact length depends on your location and the season, and it often lasts far longer closer to the poles.
Can you shoot golden hour on a cloudy day?
Show answer
Yes, though heavy cloud can block the golden sunlight. Overcast days do not provide quite the same magic, but the light is still soft and directional, so give yourself extra time.
Which types of photography suit golden hour?
Show answer
Portrait, wildlife and landscape photographers all love this light. Street photographers tend to prefer midday contrast instead.
How do you stop a backlit subject turning into a silhouette?
Show answer
Meter off your subject rather than the background, for example with spot metering. A reflector can also bounce light back onto the subject for a more even exposure.