Natural light photography can feel like a gamble when you can’t turn the sun up or down. It isn’t: read the light’s quality and direction, then move yourself, your subject or your window.
This guide is one part of the site’s series on photography techniques, and it focuses on working with daylight.
| Item | Value |
|---|---|
| Subject distance from a window for balanced light | 3 to 6 feet |
| Portrait aperture indoors | f/1.8 to f/2.8 |
| ISO range indoors | 400 to 800 in good light; 800 to 1600 in low-light rooms |
| Handheld portrait shutter speed | 1/125s or faster |
| Suggested white balance in daylight rooms | Cloudy (6,500K) or Custom |
These figures come from Photography Talk and PhotoWorkout. They are starting points that can change with your camera and room, so check the sources before you rely on them.
What counts as natural light?
Natural light comes from the sun, the sky or the moon rather than from lamps or flash, and it includes daylight passing through a window, according to Glass. It is not the same as ambient light, which covers every source already in a scene, including street lamps and indoor bulbs.
You cannot adjust the source itself. What you control is when, where and in which direction you shoot, and everything below follows from that.
Read the quality and direction of the light
Before you raise the camera, ask whether the light is hard or soft and where it is coming from. A quick test from Daily Photo Tips is to look at the ground: crisp shadow edges mean hard light, while blurry or barely visible edges mean soft light.
The same source can behave very differently through the day:
- Hard light: direct midday sun is bright and contrasty, with sharp-edged shadows.
- Soft light: clouds, shade and windows give smooth shadow edges.
- Warm light: the hour after sunrise and the hour before sunset, called golden hour, gives low-angle light.
- Cool, even light: blue hour, the minutes before sunrise and after sunset, turns the whole sky into one source.
Colour changes too. Its temperature runs warm at the edges of the day and neutral to cool at noon or in shade, so white balance settings or raw editing keep whites looking white.
Direction shapes the mood of a portrait just as much:
- Facing the light is even and flattering, though it can feel flat.
- Turning the subject about 45 degrees brightens one side slightly and adds subtle dimension.
- Side light gives strong dimension and works best when the light is soft.
- Backlight gives rim light and glowing hair but is harder to expose.
Working with natural light outdoors
Midday is the usual trouble spot. Contrastly notes that mid-day light is often regarded as a difficult light to work with, and Glass lists three ways through it: move the subject into open shade, add a reflector for fill, or embrace the contrast for graphic images.
Open shade is ground blocked from direct sun but open to the sky, so the sky becomes a huge soft source. It often looks slightly blue, so a warm white balance correction may help.
Cloud cover is an ally rather than a problem. Clouds act as a giant diffuser, which makes overcast days good for portraits, forests and close-up detail. In flat light your subject has to supply the contrast, such as dark clothing against a pale wall.
Timing still matters most. For more on the low-sun hours, read these golden hour photography tips, and check the forecast for the specific hours you plan to shoot, since weather is the one thing you cannot control.
If you want a manual starting point in bright sun, Contrastly suggests setting your camera to f/16 and a shutter speed of about 1/125, then adjusting from there.
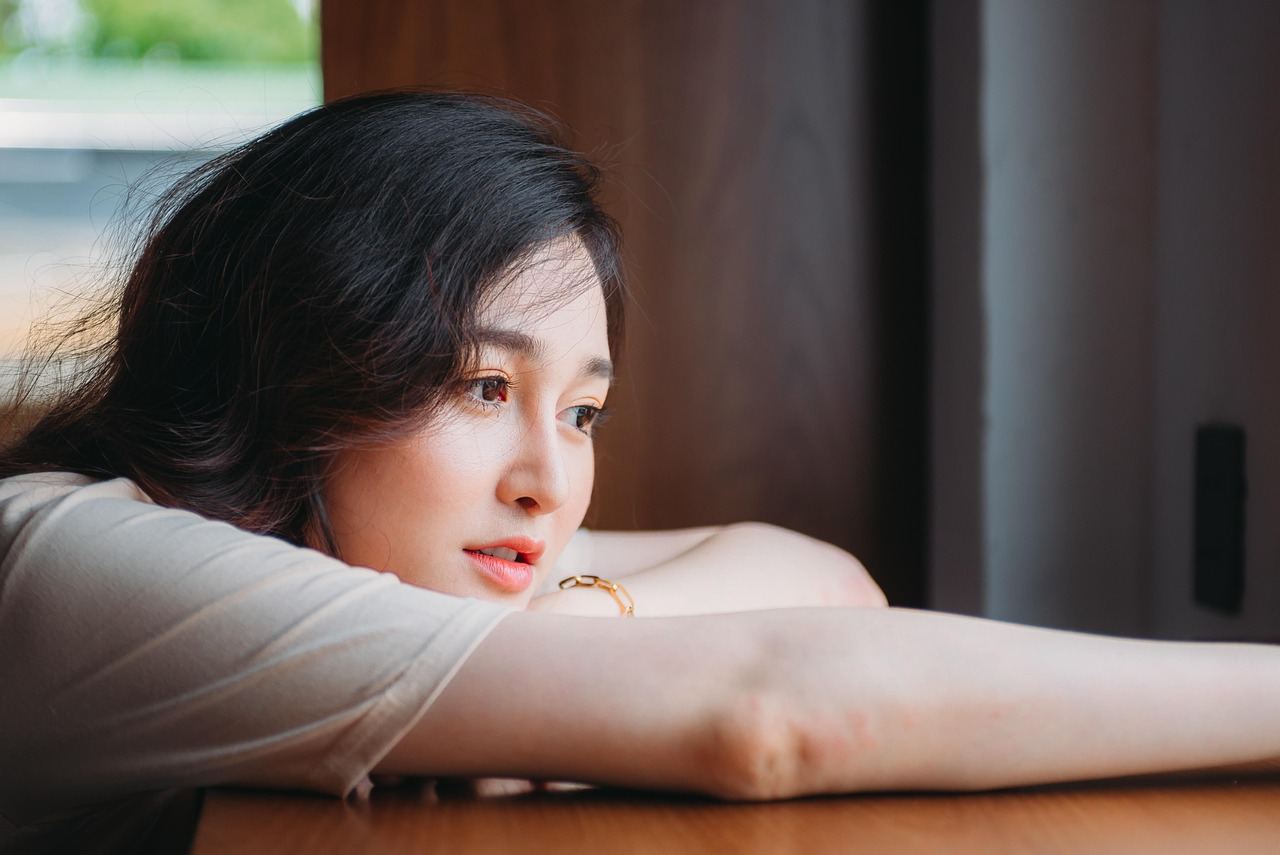
Using window light indoors
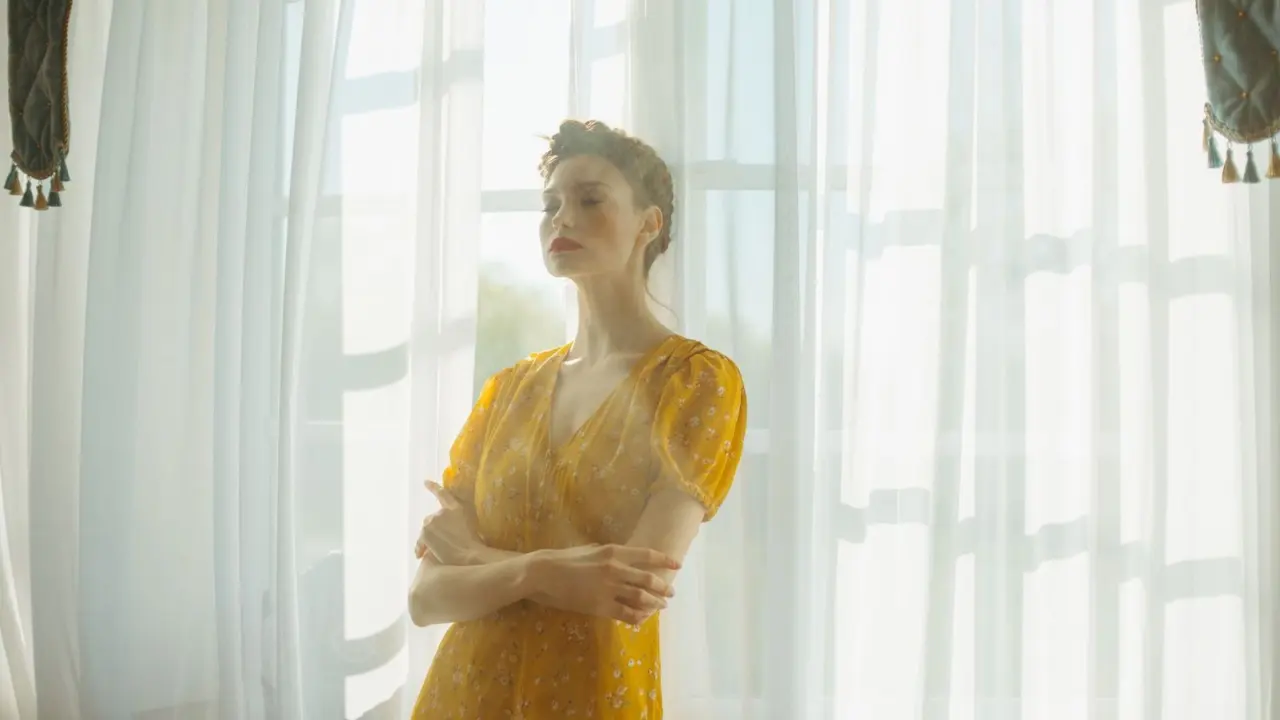
A window works as a large, soft light source. Place your subject beside it and you get directional light with gentle shadows, a look similar to a studio softbox.
The direction the glass faces decides when it performs best. These notes assume the Northern Hemisphere, as in the Photography Talk guide:
- North-facing: consistent, diffused light all day.
- East-facing: warm, directional light in the morning.
- West-facing: directional light in the afternoon.
- South-facing: direct sun for most of the day, which is tough for portraits, though an overcast sky turns it into a large, even source.
Distance changes the look as well. Photography Talk suggests 3 to 6 feet from the window for balanced light: closer is softer and brighter, farther adds contrast and shadow falloff.
To keep the effect clean, follow these steps:
- Turn off every artificial light, since extra sources dilute the directional look and can mix colour temperatures.
- Close blinds or drapes on every other window.
- Place your subject near the window and adjust the distance until the shadows look right.
- If the light is harsh, hang a sheer curtain or white sheet over the glass. One layer of white fabric is usually enough, because every extra layer cuts the light.
- For a side-lit portrait, hold a reflector opposite the window, just outside the frame, angled at the shadow side.
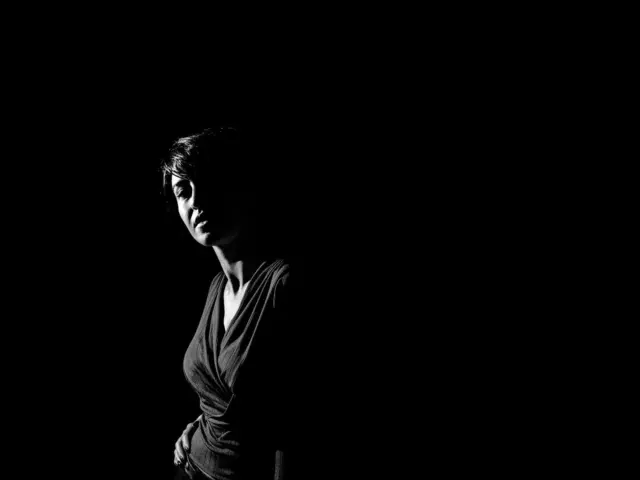
Go easy on the fill, because too much flattens the image and too little leaves harsh contrast. A white poster board or an open white book works as a reflector. If you skip the reflector and let the shadows deepen, you move toward low key photography.
Camera settings for daylight
Settings follow the brightness of the light. Indoor window light is dimmer than direct sun, so you usually need a wider aperture, a higher ISO or a tripod.
- Aperture: f/1.8 to f/2.8 lets in maximum light and separates a portrait subject from the background.
- ISO: 400 to 800 in good light and 800 to 1600 in low-light rooms.
- Shutter speed: 1/125s or faster for handheld portraits, slower on a tripod when nothing moves.
- White balance: Cloudy (6,500K) or Custom, and avoid Auto in mixed-light rooms.
- File format: shoot RAW so colour stays easy to correct.
Outdoors, watch the histogram. Skies in natural light scenes clip easily, and the histogram helps you protect the highlights.
Habits that make daylight work for you
Walk around your subject first. Daily Photo Tips recommends taking 30 seconds to circle the subject and watch how the light changes from each angle, because the best angle is often not where you started.
Decide whether to work with the light or reposition. Hard midday sun can become a deliberate choice for silhouettes and strong shadows, or you can step into open shade for softer results. Reflectors also help, since they can remove unwanted shadows.
Frequently asked questions
Is natural light the same as ambient light?
Show answer
No. Ambient light means all the light already in a scene, including lamps and streetlights, while natural light covers only the sun, sky and moon. A candlelit room has ambient light but no natural light.
What is the best time of day for natural light?
Show answer
Many photographers favour golden hour, the hour after sunrise and the hour before sunset. Midday works too, but the high sun creates hard shadows that suit bold, graphic subjects more than portraits.
Do I need a reflector?
Show answer
It helps but is not essential. A reflector bounces light into the shadow side, and a white poster board can do the same job.
Can I shoot with natural light in a dim room?
Show answer
Yes. Indoor natural light is often dim, so a wider aperture, a higher ISO or a tripod helps keep images sharp.