Worried your dark shots look muddy rather than moody? Low key photography needs just one light, a distant background and exposure set for your subject. Here is how to build it.
This guide belongs to the wider topic of photography techniques, so you can compare the dark, dramatic approach with other methods.
| Item | Value |
|---|---|
| Example lighting ratio (key light to fill light) | 8:1 |
| Exposure starting point | About -1.50 stops below 0 |
| Suggested prime lens aperture | f/1.8 |
| Typical number of light sources | One main light |
These figures come from Light Stalking’s low-key lighting guide and Tribeca Printworks’ low-key guide. Figures and recommendations can change, so check the sources before you rely on them.
What is low key photography?
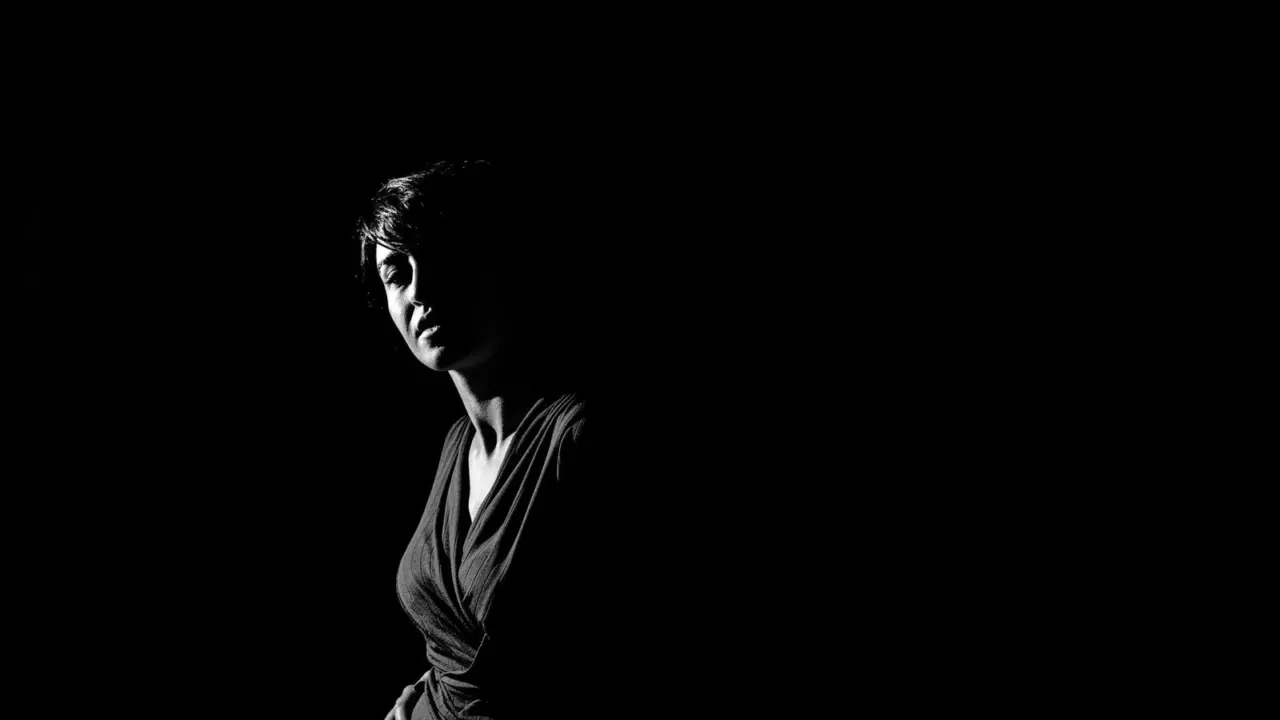
A low key image is built from dark tones, dramatic shadows and often a black background. The mood is brooding rather than bright, the opposite of the upbeat feel of high key work.
In a step-by-step low key portrait guide, a low key portrait has tones that are mostly dark, while a high key image has most tones lighter than 50% gray. Your histogram will bunch up on the left-hand side. That does not mean underexposing the face, which still needs correct exposure.
The look has deep roots in chiaroscuro painting. Tribeca Printworks’ guide says low-key visuals became popular in the Renaissance and Baroque periods, with artists including Leonardo da Vinci, Rembrandt and Caravaggio. It also names Yousuf Karsh as one of the most outstanding low-key portrait photographers of the 20th century.
Film noir made the style familiar, with minimal light sources and deep blacks. Choose it for a reason, because a dark picture made without a concept in mind tends to look odd rather than intentional.
Building a low key lighting setup
You do not need an elaborate studio. A camera and a single light source are ideal, and the real job is controlling where the light does not go.
- Pick a dark backdrop. Use a black or very dark background, and dark, plain clothing so that patterns do not pull attention away from the face.
- Move the subject away from the backdrop. The further the background is from the light, the less light it receives, so it sinks toward black.
- Place one light to the side. Side lighting gives more contrast than front lighting, and a Rembrandt-style pattern is a good start because it usually needs only one light.
- Shape the beam. A grid restricts the light to a narrower beam so it does not spill past your subject, and a black card, known as a flag, can block light from the background.
- Add fill only if you need it. A reflector or a weaker second light can bring back detail in the shadows or separate dark hair from a dark background.
If the hair merges with the backdrop, a hair light on the side opposite the main light helps. Keep it from hitting your lens, or you will get flare.
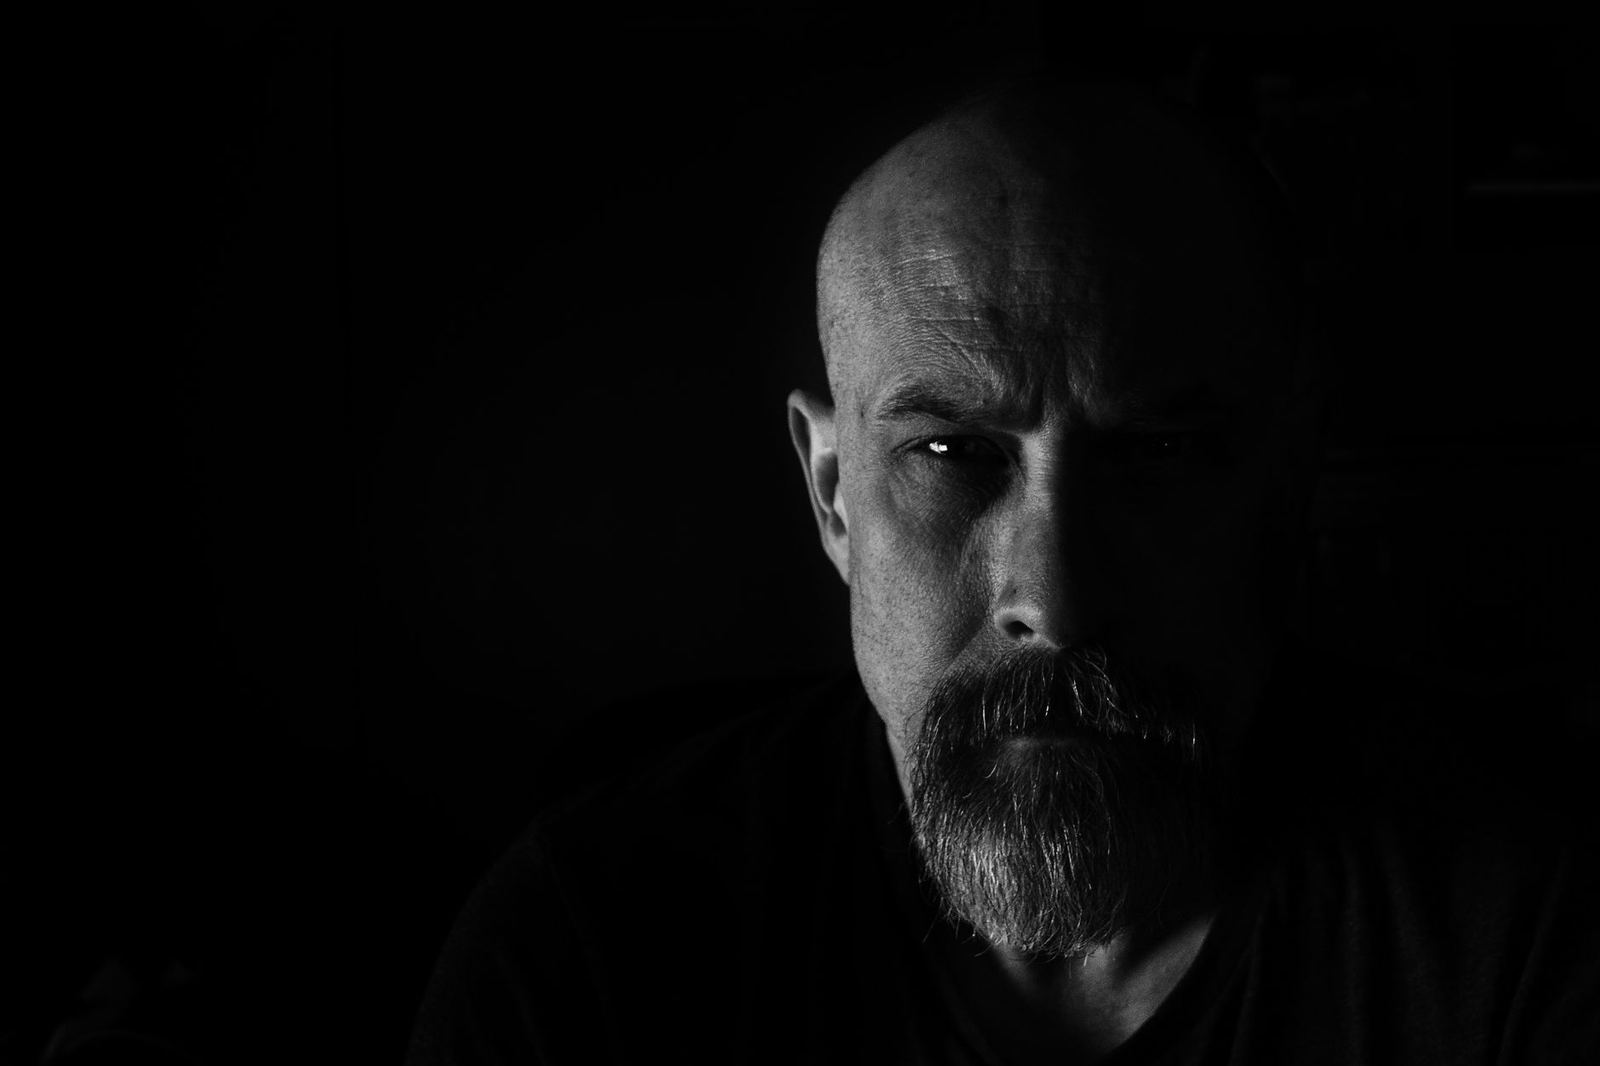
You can also work without studio lights. Close the curtains to a tiny slit, switch the room lights off and expose for the face, a method that overlaps with the light-reading skills in natural light photography.
Outdoors, look for dark places with softened light, such as basements, tunnels, car parks and doorways.
Camera settings and exposure for dark images
Shoot in manual mode so you decide how dark the frame goes. Light Stalking says that metering beneath 0, with something near -1.50 stops, will work just fine. Treat that as a starting point, because the face still needs correct exposure.
A low key setup also has a higher lighting ratio, for example 8:1, which compares key light to fill light, as the same guide explains. In practice, the fill light is weak or absent and is used only to bring some detail into the shadows.
- Aperture: keep it wide open to gather the most light, then adjust from there.
- ISO: keep it as low as possible to limit noise.
- Metering: in an auto exposure mode, use exposure compensation and spot metering, which ignores the dark background and reads only the subject.
- Histogram: check that you are not clipping the highlights or shadows.
- File format: RAW gives you more flexibility in post-processing.
On gear, Tribeca Printworks suggests an affordable prime lens with an aperture of f/1.8, since a standard lens aperture may not let in enough light. A sturdy tripod helps with longer exposures without costing sharpness. If you use flash, keep it from being so harsh that it blows out your subject.
Subjects that suit the dark look
Low key lighting suits anything where form and texture matter more than a bright, full view. These are the common uses listed by Tribeca Printworks:
- Portraits: dramatic expressions and the natural shapes of the body.
- Still life: the textures and shapes of objects, with a sense of depth and mystery.
- Product work: the form and details of items, often luxury goods or food.
- Wildlife: a softly lit subject in front of a dark, shadowed background.
A single subject against black also pairs naturally with the ideas in minimalist photography, where empty space carries as much weight as the subject.
Whatever you choose, plan the light before you shoot. Only part of the image is visible, so the dark areas are as much a decision as the lit ones.
Common mistakes and quick fixes
Most problems come from light reaching places it should not. Use this table as a troubleshooting checklist.
| Problem | Fix |
|---|---|
| Background is too bright | Move the model and the light away from the wall, move the light to the side, or add a grid. |
| Hair blends into the backdrop | Add a fill or hair light on the opposite side from the main light. |
| Flare in the frame | Keep the hair light off the lens, using a grid or flag if needed. |
| Subject looks blown out | Soften the flash and check the histogram for clipped highlights. |
| Image feels random | Decide on the mood or concept first, then light to match it. |
Moving the light to the side into a short lighting position darkens the background even more, according to the portrait guide. Practise with small changes, one at a time, so you can see what each one does.
Finishing low key photos in editing
Editing refines a low key photo and can rescue one where the background is not dark enough. If the background is visible, you can darken it with a brush tool or by darkening levels.
- Brighten the subject: adjust exposure, highlights and whites.
- Check white balance: it tends to be too cool with flash and too warm with indoor lighting.
- Add a vignette: a radial filter does the job.
- Try monochrome: converting to black and white accentuates the contrast between light and dark.
Black and white is optional. The absence of color can suit the look, but a pop of color can also bring a low key shot to life.
Frequently asked questions
Do I need a studio for low key photography?
Show answer
No. A camera and a single light source are ideal, and a window works too if you close the curtains to a tiny slit and turn the room lights off.
Does low key mean underexposed?
Show answer
Not quite. The image has mostly dark tones and a histogram bunched to the left, but the subject’s face still needs correct exposure.
Does a low key photo have to be black and white?
Show answer
No. Color works, and a pop of color can add life, though the absence of color can lend itself to the look.
How is low key different from high key?
Show answer
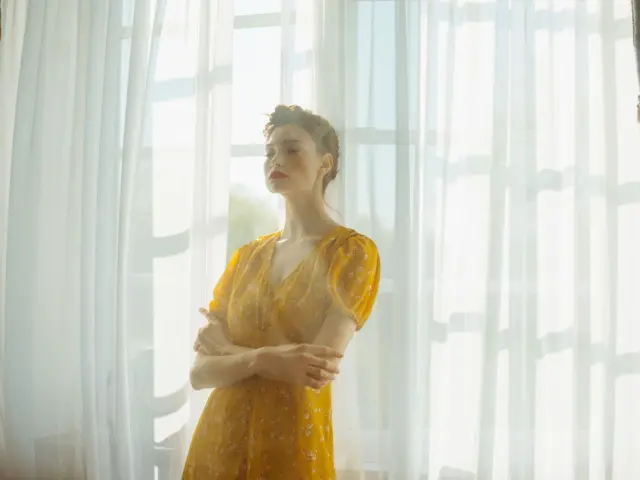
A low-key image is usually dramatic and mysterious, while a high-key image is often airy and bright.
Which lighting pattern should beginners try first?
Show answer
Rembrandt-style light, because it usually requires only one light source. Place that light off to one side and add fill only when you need it.